



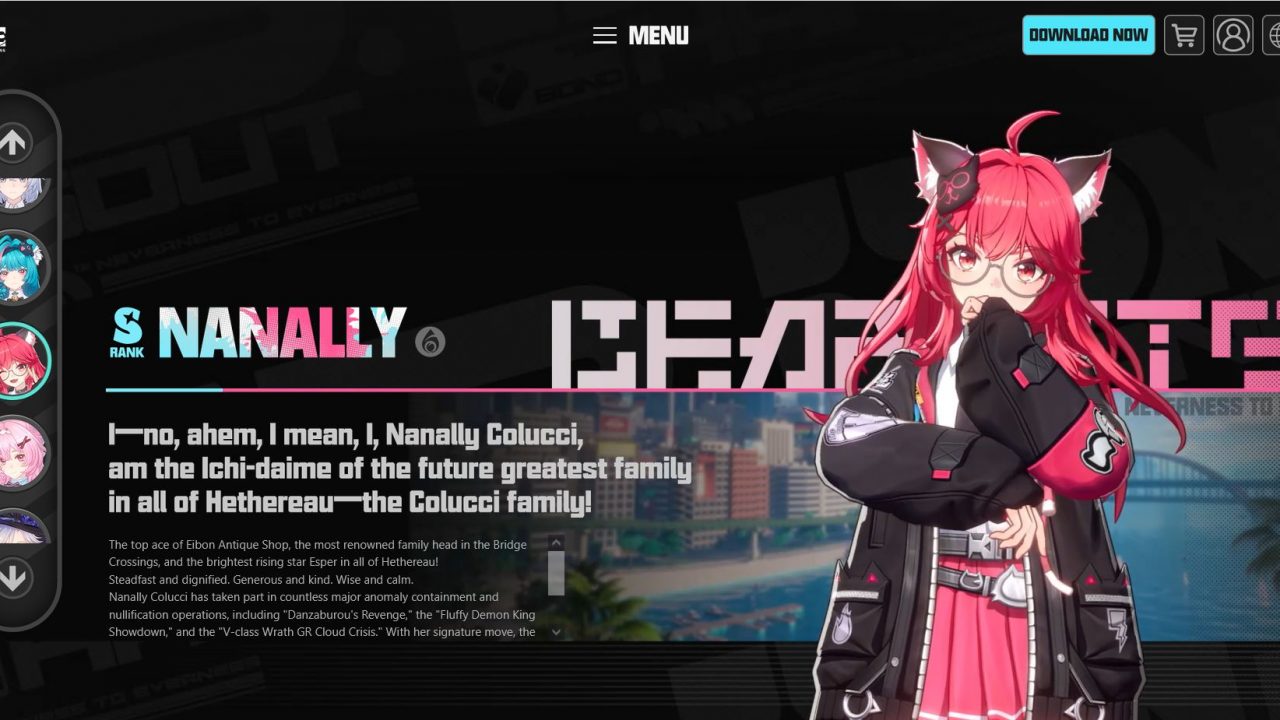
Nanally remains one of the strongest sustained DPS characters in NTE: Neverness to Everness, combining rapid Basic Attack strings with coordinated follow-up attacks and her Underboss summon. Her Anima and Plasma combination also gives her excellent synergy with reaction-focused teams.

Version 1.3 has introduced stronger competition, so Nanally is no longer simply a character you build and forget about. Her performance depends heavily on maintaining Ichi-daime’s Authority, maximizing follow-up attacks, and surrounding her with teammates who can trigger Esper Cycle effects. This guide covers Nanally’s best Arc, Cartridge set, Module configuration, skill priority, combat rotation, and strongest teams.
Nanally’s Core Mechanics
Nanally is a sustained on-field DPS whose damage comes from stacking multiple attacks into a short window. Her core gameplay revolves around three moves:
- Ichi-daime’s Authority: Activated through her Redirect Skill, this puts Nanally into her enhanced state and increases her CRIT DMG.
- Underboss: Her Ultimate summons Underboss, which attacks alongside Nanally and adds additional Follow-up Attacks to her rotation.
- Fair Duel: While Ichi-daime’s Authority is active, Esper Cycle damage from the team can trigger additional Follow-up Attacks from Nanally.
This creates a straightforward damage loop:
- Activate Authority – summon Underboss – use Basic Attacks – trigger Follow-up Attacks – maximize the buff window.
Nanally Skill Priority
Nanally’s recommended upgrade order is:
- Basic Attack > Ultimate > Skill > QTE
Her Basic Attack should receive the highest priority because so much of her damage comes from her extended combo and the additional attacks generated by Underboss. Her Ultimate comes next because it provides the Underboss summon and a substantial portion of Nanally’s follow-up damage. The Redirect Skill is still essential for activating Ichi-daime’s Authority, but upgrading it provides less direct damage than the first two abilities.

Basic Attack: Colucci Secret Skill
Nanally performs up to five consecutive Anima attacks. Her most important advantage is that dodging does not interrupt the combo, allowing her to avoid attacks without completely abandoning her damage sequence. She can also branch into Heavy Hitter!, which adds several powerful attacks to the combo.
Redirect Skill: Colucci Howling Technique
This Skill deals Anima damage and activates Ichi-daime’s Authority. The effect lasts for up to 12 seconds and provides a 30% CRIT DMG increase, so the timing of this ability is extremely important. Do not activate it when you are about to immediately leave the field.
Ultimate: Colucci Ultimate Technique
Nanally deals a series of Anima attacks and summons Underboss. Underboss pulls nearby enemies slightly closer and coordinates attacks with Nanally’s own attacks, adding Follow-up Attack damage throughout the burst window. This is the centerpiece of Nanally’s highest-damage rotation.

Support Skill: Justice From Above
Nanally’s Support Skill adds further attacks based on the team’s Esper Cycle activity. Its main value is increasing the number of hits generated during her overall rotation rather than serving as a standalone damage button.

Nanally’s Best Combat Rotation
The ideal rotation is designed around keeping Nanally in her Authority state while Underboss is active.
- Step 1: Activate Ichi-daime’s Authority: Use Colucci Howling Technique and trigger the Redirect effect. This starts Nanally’s CRIT DMG window.
- Step 2: Use the Ultimate: Cast Colucci Ultimate Technique to summon Underboss. Once Underboss is active, Nanally’s attacks gain additional coordinated hits.
- Step 3: Continue the Basic Attack Chain: Use Nanally’s Basic Attack combo and branch into Heavy Hitter! whenever the situation allows. Because dodging does not reset the combo, you can avoid incoming attacks without completely sacrificing the rotation.
- Step 4: Capitalize on Esper Cycle Triggers: Her Fair Duel passive creates additional Follow-up Attacks whenever teammates trigger Esper Cycle damage while Authority is active. This is why Nanally performs especially well with teammates that can reliably generate these reactions.
Best Arc: Ready-Ready
Ready-Ready is Nanally’s signature Arc and remains her best-in-slot option. Its combination of CRIT Rate and Basic Attack enhancement fits directly into her playstyle. Using her Redirect Skill or Ultimate increases her Basic Attack damage, while meeting the Arc’s conditions also unlocks an additional boss-damage effect. That makes Ready-Ready very valuable in boss encounters, where Nanally can maintain her extended Basic Attack rotation against a single target.

Best Alternative: Fluff of Fortitude
Fluff of Fortitude is a strong S-Rank alternative for players who do not have Ready-Ready. It provides useful general damage and works well with Nanally’s normal rotation without requiring a completely different build.
Best Budget Arc: Raging Flames
Raging Flames is an excellent lower-cost alternative. It focuses on increasing Skill and Ultimate damage, making it particularly useful when Nanally’s signature Arc is unavailable. When using Raging Flames, casting the Ultimate first can help you take advantage of its damage window more effectively.

Best Cartridges: Fireflies and the Forest
The recommended Cartridge set for Nanally is Fireflies and the Forest. Its two-piece effect grants Anima DMG +10%. The Legendary four-piece effect increases the wearer’s CRIT DMG by 8% whenever a nearby enemy takes Anima DMG from the team, stacking up to seven times. At maximum stacks, that is a 56% CRIT DMG increase.
Nanally is well suited to this effect because her Basic Attacks, Underboss, and other follow-up attacks generate a constant stream of Anima damage. As a result, she can build and maintain the Cartridge’s CRIT DMG stacks naturally during a normal rotation.
Module Configuration
Nanally’s Console configuration also rewards Type II Modules. Each Type II Module provides 6% CRIT Rate, allowing a full configuration to provide up to 30% additional CRIT Rate from the Module bonus. This makes Type II Modules quite valuable when balancing Nanally’s CRIT Rate without sacrificing too much ATK or CRIT DMG from her other stats.
A practical endgame configuration uses a mixture of Type II Modules for CRIT Rate, Type III Modules for the required Console layout, and A Type IV Module to complete the configuration. Do not sacrifice better primary stats simply to force a theoretical perfect layout. Module quality still matters.
Nanally Stat Priority
Nanally benefits heavily from Critical stats because of her high attack frequency and large number of Follow-up Attacks.
- Main Stats: Prioritize Anima DMG Up > CRIT DMG > CRIT Rate > ATK Bonus. An Anima DMG main stat directly improves her elemental damage, while CRIT DMG becomes increasingly valuable once your CRIT Rate is stable.
- Sub-Stats: Aim for CRIT DMG > CRIT Rate > Universal DMG Bonus > ATK Bonus. Use the Type II Module bonus to help fill out your CRIT Rate requirements instead of sacrificing all your other useful stats to chase Critical Rate on every piece.

Best Nanally Teams
Nanally is most effective when her teammates help generate Esper Cycle damage or amplify her Anima output.
1. Blossom Specialist Team
- Nanally + Jiuyuan + Esper Zero + Sakiri
This is one of the strongest general Nanally compositions. Esper Zero helps generate Esper Cycle opportunities, while Jiuyuan adds enemy grouping and further Blossom interactions. Sakiri provides a strong offensive buff before Nanally takes advantage of the reaction window.
2. Follow-Up Attack Team
- Nanally + Esper Zero + Hathor + Fadia
This composition focuses more heavily on Nanally’s Follow-up Attack mechanics. Esper Zero provides Esper Cycle triggers, Hathor adds Lakshana utility, and Fadia supplies additional survivability and sustain. It is very useful when you want Nanally to remain the central damage dealer without committing the entire team to a pure Blossom setup.
3. Lower-Rarity Team
- Nanally + Esper Zero + Skia + Haniel
This is a practical alternative for players with fewer premium supports. The team focuses on triggering Esper Cycle effects while Haniel provides additional buffs. Skia adds utility without demanding excessive field time. It will not have the same ceiling as a fully optimized premium composition, but it allows Nanally to function as the primary carry while the rest of the roster is still developing.
Nanally remains a powerful Anima main DPS in the current meta, but her strength comes from attack frequency and team interaction rather than one oversized damage button. Her strongest teams revolve around the same principle: Esper Cycle triggers keep her Follow-up Attacks flowing, while supports such as Sakiri or Haniel amplify the damage produced during her Authority window.
The key to Nanally is simple: activate Authority, bring out Underboss, and keep attacking. Once you learn to align her burst window with your team’s reactions and buffs, she becomes one of the most reliable sustained damage dealers available in Neverness to Everness.