



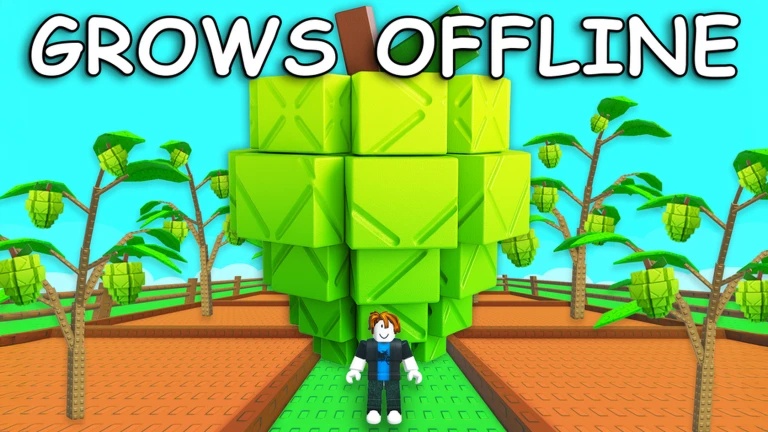
In Roblox’s Grow a Garden, every square of usable farmland can contribute to your income. As your plot expands and your collection of seeds improves, simply filling available space is no longer enough. The arrangement of crops, sprinkler coverage, and mutation-focused areas can have a major effect on how efficiently your garden produces Sheckles. This guide covers the most effective layouts for different stages of progression, including setups designed for active harvesting and longer AFK sessions.

Farm Layout Comparison Overview
| LAYOUT | PROGRESSION TIER | KEY CROPS | MAIN INCOME SOURCE |
| Compact Bamboo Cash-Flow Grid | Beginner / Early Game | Bamboo, Carrot, Strawberry | Frequent harvesting and rapid replanting |
| Multi-Sprinkler High-Density Grid | Mid Game | Mushroom, Pumpkin, Dragonfruit | Faster growth and increased fruit size |
| Mutation Stacking Storm Zone | Late Game / End Game | Candy Blossom, Mushroom, Divine Seeds | Multiple weather-based mutations |
| AFK Sprinkler Stack Cluster | End Game (Macro/AFK) | High-tier mutated fruit | Passive overlapping sprinkler effects |
1. Compact Bamboo Cash-Flow Grid (Beginner / Early Game)
New players usually have limited Sheckles, which makes expensive seeds, equipment, and specialized farming setups impractical. At this stage, the priority is to turn a small amount of capital into income as often as possible.
- Optimal Setup: Create a tightly packed section devoted to quick-growing crops such as Bamboo, Carrots, and Strawberries. Keeping these plants close together makes it easier to cover the entire group with a single sprinkler.
- Sprinkler Placement: Put one Basic or Advanced Sprinkler in the middle of the crop block. The aim is to make the sprinkler’s coverage reach as many plants as possible without leaving large unused areas.
Why It Works
Fast-growing crops let you cycle through harvesting and replanting much more frequently than slower, higher-value plants. Keeping them inside the sprinkler’s effective area helps shorten their growth cycles, allowing you to repeat the harvest-and-sell process regularly. This setup is less about the value of an individual crop and more about maximizing how often your plot produces something you can sell.
Pro Tip
Use ordinary Dirt tiles for inexpensive crops and reserve Compost Soil for Rare and Legendary seeds. That prevents valuable soil upgrades from being consumed by plants that provide relatively modest returns.


2. Multi-Sprinkler High-Density Grid (Mid Game)
Once your garden has accumulated roughly 500,000 to 1 million+ Sheckles, it becomes more worthwhile to move away from basic rapid-growth crops. Higher-value plants such as Mushrooms, Pumpkins, and Dragonfruit can produce substantially greater returns when paired with stronger equipment.
- Grid Layout: Use the Trowel, available from the Gear Shop for 100,000 Sheckles, to reorganize your farm into concentrated crop sections. Grouping plants into compact clusters makes it easier to cover valuable crops with multiple sprinklers.
- Sprinkler Hierarchy Setup: Place a Master Sprinkler at the center of your most valuable crop cluster. Then arrange two or three Godly Sprinklers and Advanced Sprinklers around the outer portion of the formation.
Why It Works
Higher-value crops become more profitable when growth and size effects are applied consistently. Multiple high-tier sprinklers can improve the conditions around the same group of plants, increasing the chance of producing larger specimens. The important difference from an early-game grid is that you are now concentrating buffs on crops that already have a substantially higher base value.

3. Mutation Stacking Storm Zone (Late Game / Max Profit)
At higher levels of progression, mutations can become far more important than simply increasing the number of crops in your garden. A valuable fruit that accumulates several advantageous effects can be worth dramatically more than an ordinary harvest. For this reason, a late-game garden can benefit from having a dedicated mutation area rather than treating every crop space identically.

- Layout Design: Set aside a central section or corner of the farm specifically for mutation farming. Fill this area with your most valuable crops and arrange the surrounding equipment to maximize the chances of applying useful effects.
- Gear Placement: Position Lightning Rods around the dedicated cluster so storm activity is directed toward your valuable crops. This can help trigger the Shocked mutation, which is listed as having a 100x multiplier. Pets with mutation-related passive effects, such as the Dragonfly, can further improve opportunities for mutations such as Gold (20x) and Rainbow (50x).
The Golden Rule
Do not rush to sell a valuable fruit the moment it reaches maturity when you are specifically farming mutations. Keeping the crop in place gives additional weather events an opportunity to affect it. You should try to build a more valuable combination of effects on the same fruit, such as Shocked + Frozen + Gold, rather than immediately taking the first available payout.
4. The AFK Sprinkler Stack Meta
Players who prefer passive farming can arrange their best plants into a compact area designed to benefit from continuous sprinkler coverage.
- Compact Your Best Crops: Use the Trowel to organize fully grown Mythical and Divine plants into a tight square formation. Concentrating the crops makes it easier for multiple sprinklers to affect the same area.
- Stack the Sprinklers: Place Basic, Advanced, Godly, and Master Sprinklers around the center of the formation so their effects overlap the valuable crops as much as possible.
Let the Garden Work
Leave the crops unharvested while remaining AFK on a private server. This allows the setup to continue operating without exposing the valuable fruits to other players who may interfere with your farming area. After an extended session, you can return and harvest the accumulated oversized and mutated fruits for a potentially much larger Sheckle payout.


Essential Layout Rules for Max Profit
1. Avoid Low-Return Crops in Premium Spaces
Not every plant deserves the same amount of farmland. Apple Trees, for example, can occupy valuable space without matching the return you could obtain from more profitable crops such as Bamboo, Mushrooms, or Dragonfruit. Reserve your strongest sprinkler coverage for plants that justify the space they occupy.
2. Separate Crops by Soil Quality
Use Compost Soil where it provides the most value, especially for higher-rarity seeds. Basic crops can remain on standard Dirt so that limited upgraded soil is not being spent on low-value plants.
3. Regularly Clear Weak Plants
Use the Shovel to remove Common and Uncommon plants that are occupying useful sprinkler coverage. A garden can become less efficient over time as old or low-value crops remain in locations that could instead support more profitable plants.
How to Build Your Garden as You Progress
The most effective layout is not necessarily permanent. Your farming strategy should evolve alongside your resources and equipment.
- Early Game: Keep everything compact and prioritize crops with short growth cycles. A single well-positioned sprinkler can be enough when your main goal is generating capital quickly.
- Mid Game: Start grouping valuable crops together and invest in stronger sprinkler coverage. This is the point where dense clusters become increasingly useful because they allow more high-tier buffs to affect profitable plants.
- Late Game: Shift part of the farm toward mutation generation. Your best crops should receive the strongest equipment coverage, while dedicated mutation zones can remain untouched until favorable effects have accumulated.
- End Game: For AFK-oriented gardens, consolidate your rarest mature plants and create a concentrated sprinkler cluster. The less space wasted around valuable crops, the easier it becomes to make the most of overlapping effects.
A profitable Grow a Garden setup is ultimately about using limited farmland efficiently. Therefore, the best garden changes with your progression. Start compact, upgrade toward dense high-value clusters, and eventually dedicate your most valuable space to mutation farming and premium crops.
Read More
Looking for more game strategies and guides? Explore our full collection of tips & game guides to level up your gameplay!