

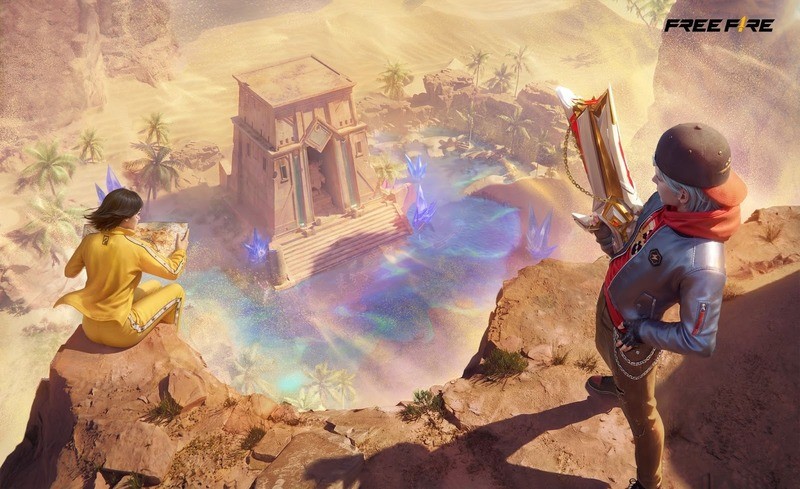
There isn’t one perfect way to play Free Fire. A strategy that helps you survive until the final circles in Battle Royale can be completely ineffective in Clash Squad, while the careful aim needed for a Lone Wolf duel won’t help when you’re rotating around a full BR map.

Each mode demands a different approach to positioning, resource management, combat, and decision-making. Learning those differences is essential if you want to perform consistently rather than relying on the same habits in every match.
Battle Royale: Prioritize Survival and Map Control
Battle Royale is Free Fire’s classic 50-player survival mode, where the objective is to outlast the competition. Getting eliminations is useful, but staying alive and reaching the late game should remain your primary goals.
1) Rotate Along the Edge of the Safe Zone
Don’t automatically rush toward the center of the safe zone as soon as it appears. Moving straight into the middle can leave you exposed to several squads approaching from different directions. Instead, consider rotating along the edge of the shrinking zone. This limits the number of angles you need to watch and makes it easier to concentrate on opponents ahead of you. This strategy isn’t completely risk-free, but it gives you more predictable positioning and reduces the chance of being surrounded.

2) Prioritize Gloo Walls and Inhalers
Your inventory should be prepared for the late game rather than filled with unnecessary ammunition. Gloo Walls are very valuable because they can provide instant cover during rotations, revives, and final-circle fights. Keep a healthy supply of Inhalers as well. Sustaining your HP and EP can be more valuable in the final circles than carrying extra supplies that you may never use.

3) Recommended BR Characters
For a survival-focused setup, K (Captain Booyah) provides strong EP sustain, while Kelly improves rotation speed. Misha is another useful option when you rely on vehicles for movement, helping you travel around the map while reducing the danger of being easily sniped. This combination favors mobility and survivability rather than maximizing combat damage.
Clash Squad: Win Through Economy and Aggression
Clash Squad changes the formula completely. It’s a 4v4, round-based mode, so every purchase and every lost round affect the next stage of the match. Winning gunfights is important, but a team that manages its credits and controls the map can consistently create better outcomes.

1) Make the First Round Count
The opening pistol round can establish the momentum for the rest of the match. If you’re confident with your aim, weapons such as the G18 or M500 can give you the firepower needed to win the opening fight. However, losing Round 1 doesn’t mean you should immediately spend everything you have.

2) Don’t Force a Full-Buy After a Loss
After losing the first round, consider purchasing a Desert Eagle or an inexpensive SMG and saving the rest of your credits. The goal is to enter Round 3 with enough money for a stronger Assault Rifle and Level 2 Armor. Check our Free Fire weapon tier list to get more ideas about the ideal setup. This can give your team a substantial equipment advantage over opponents who spent heavily during the previous round. Good economy management means accepting a weaker round now to create a much stronger round later.
3) Take Advantage of High Ground
Maps such as Factory and Clock Tower contain elevated positions that can provide valuable sightlines. A useful approach is to place one player (ideally someone using a weapon such as the M82B) in a high position to provide overwatch. That player can pressure enemies and help break Gloo Walls while teammates push from another angle. The key is coordination. High ground is only useful when the rest of the team can capitalize on the information and pressure it provides.

4) Recommended CS Characters
For team-based Clash Squad play, Dimitri offers valuable self-revive utility, while Thiva can speed up teammate rescues. Jota is another strong choice for aggressive players because recovering HP after a knockdown can help you survive during close-range engagements. Together, these abilities emphasize survivability, recovery, and sustained aggression.

Lone Wolf: Win the Mechanical Battle
Lone Wolf is Free Fire’s highly focused 1v1 or 2v2 Iron Cage mode. There are no squads to blame for a bad rotation and no third parties waiting to interfere. Your movement, aim, positioning, and ability to read your opponent become the deciding factors.
1) Adapt to the Enemy’s Weapon Choice
Lone Wolf’s weapon-selection system makes adapting especially important. If your opponent chooses a close-range weapon such as the M1887, don’t automatically charge straight at them. Instead, use your Gloo Walls to force them to waste shots or create an opportunity to move around their position. Once they’ve fired and need to reload, that’s your window to counterattack.
2) Use Fake Pushes and Flanks
The small, symmetrical arena makes predictable movement especially dangerous. Repeating the same rush from the same direction gives your opponent an easy read. Try creating false openings instead. For example, begin moving toward one side, place a Gloo Wall, and then quickly change direction to attack from the opposite side. The goal is to make your opponent react to something that isn’t the real attack.
3) Recommended Lone Wolf Characters
Skyler is quite useful because his ability can destroy enemy cover, reducing one of the main advantages Gloo Walls provide in the arena. Pairing him with Hayato adds stronger armor penetration as your health decreases, which can be valuable during prolonged one-on-one fights.

How to Adapt Your Playstyle Between Modes
The biggest mistake you can make is carrying your BR habits into CS or Lone Wolf without modification.
- In Battle Royale, Think About the Next Circle: Information and positioning are more important than taking every available fight. Loot efficiently, rotate early when necessary, and make sure you have enough healing and Gloo Walls for the final stages.
- In Clash Squad, Think About the Next Round: Every purchase should serve a purpose. Don’t sacrifice your team’s future equipment advantage simply to force one weak round after a loss.
- In Lone Wolf, Think About the Next Move: Your opponent is constantly watching your movement. Use cover, change your attack patterns, and deliberately create situations where they have to guess what you’re going to do.

Success in Free Fire depends heavily on understanding the mode you’re playing. Battle Royale rewards patience, efficient rotations, and strong late-game preparation. Clash Squad is built around economy management, coordinated pushes, and controlling advantageous positions. Lone Wolf, meanwhile, strips away most of the team-based variables and puts the emphasis on aim, movement, adaptation, and mind games.
Don’t try to force one strategy across every mode. Change your character setup, weapon choices, and decision-making based on the match you’re entering. Once you learn what each mode demands, you’ll be able to make smarter plays and turn more matches in your favor.
Read More:
Looking for more guides, tips, and strategies? Explore our full collection of game guides & tips to level up your gameplay!